How to create a template on XCP-ng with XenOrchestra
In this post I will show you how to create a template in XenOrchestra and using an image we created and customized ourself.
First we log in to our XenOrchestra Instance and in the VMs list screen we click on "New VM" in the top right corner if the screen.

Alternatively we also can go to the sidebar and select here new and then again VM.
In the "New VM" screen then first select the pool the template should be prepared for. Select as Template for the VM "Other install media" and give it a Name we want the template have later. Set CPU to 1 Core with 1 Thread and Memory to 1 GiB. As install medai chose one it doesn't matter since we will be changing the boot order later on anyways. For interfaces you can select the default interface you want the template to have but also this isn't really relevant at this point. Leave disk empty.
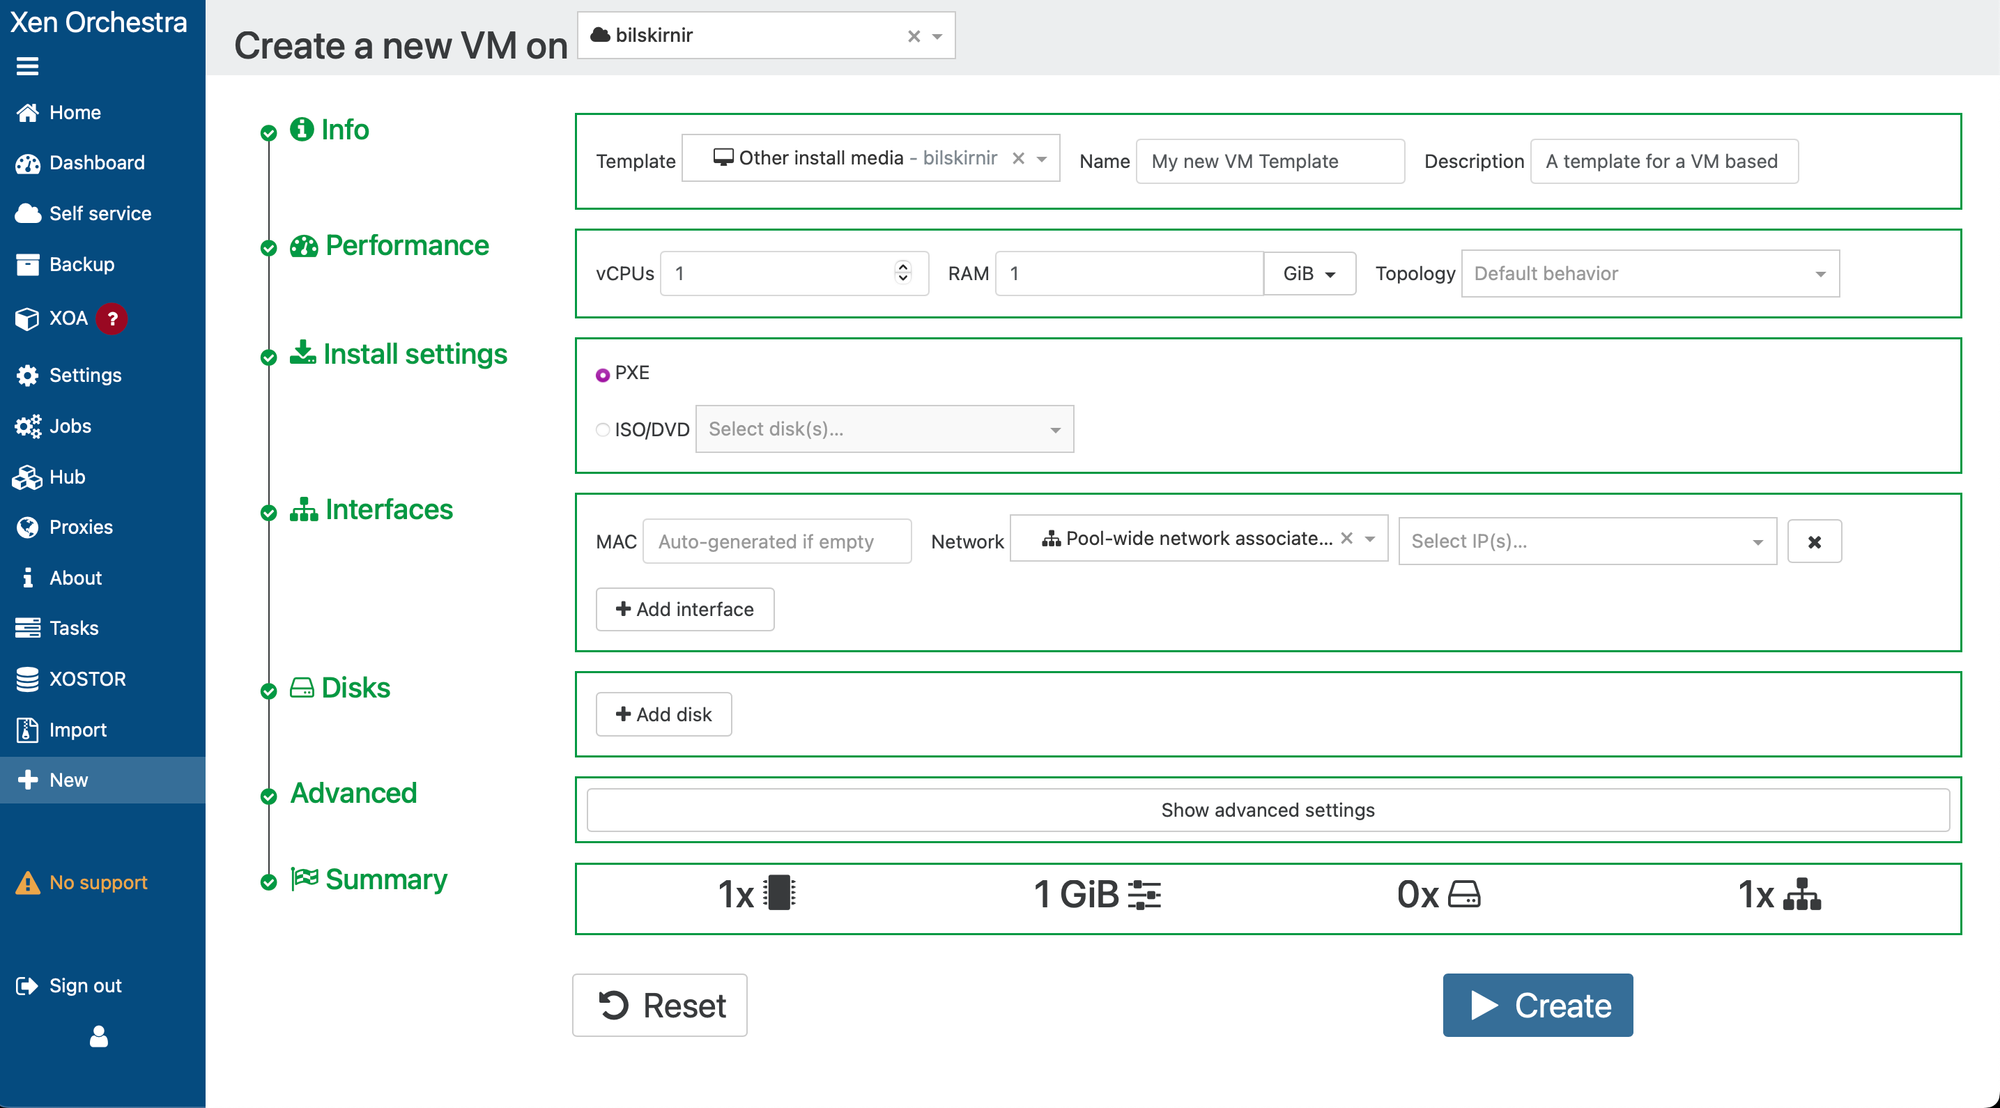
Then click on "Show advanced settings" and uncheck "Boot after creation" and select "UEFI" as boot firmware.

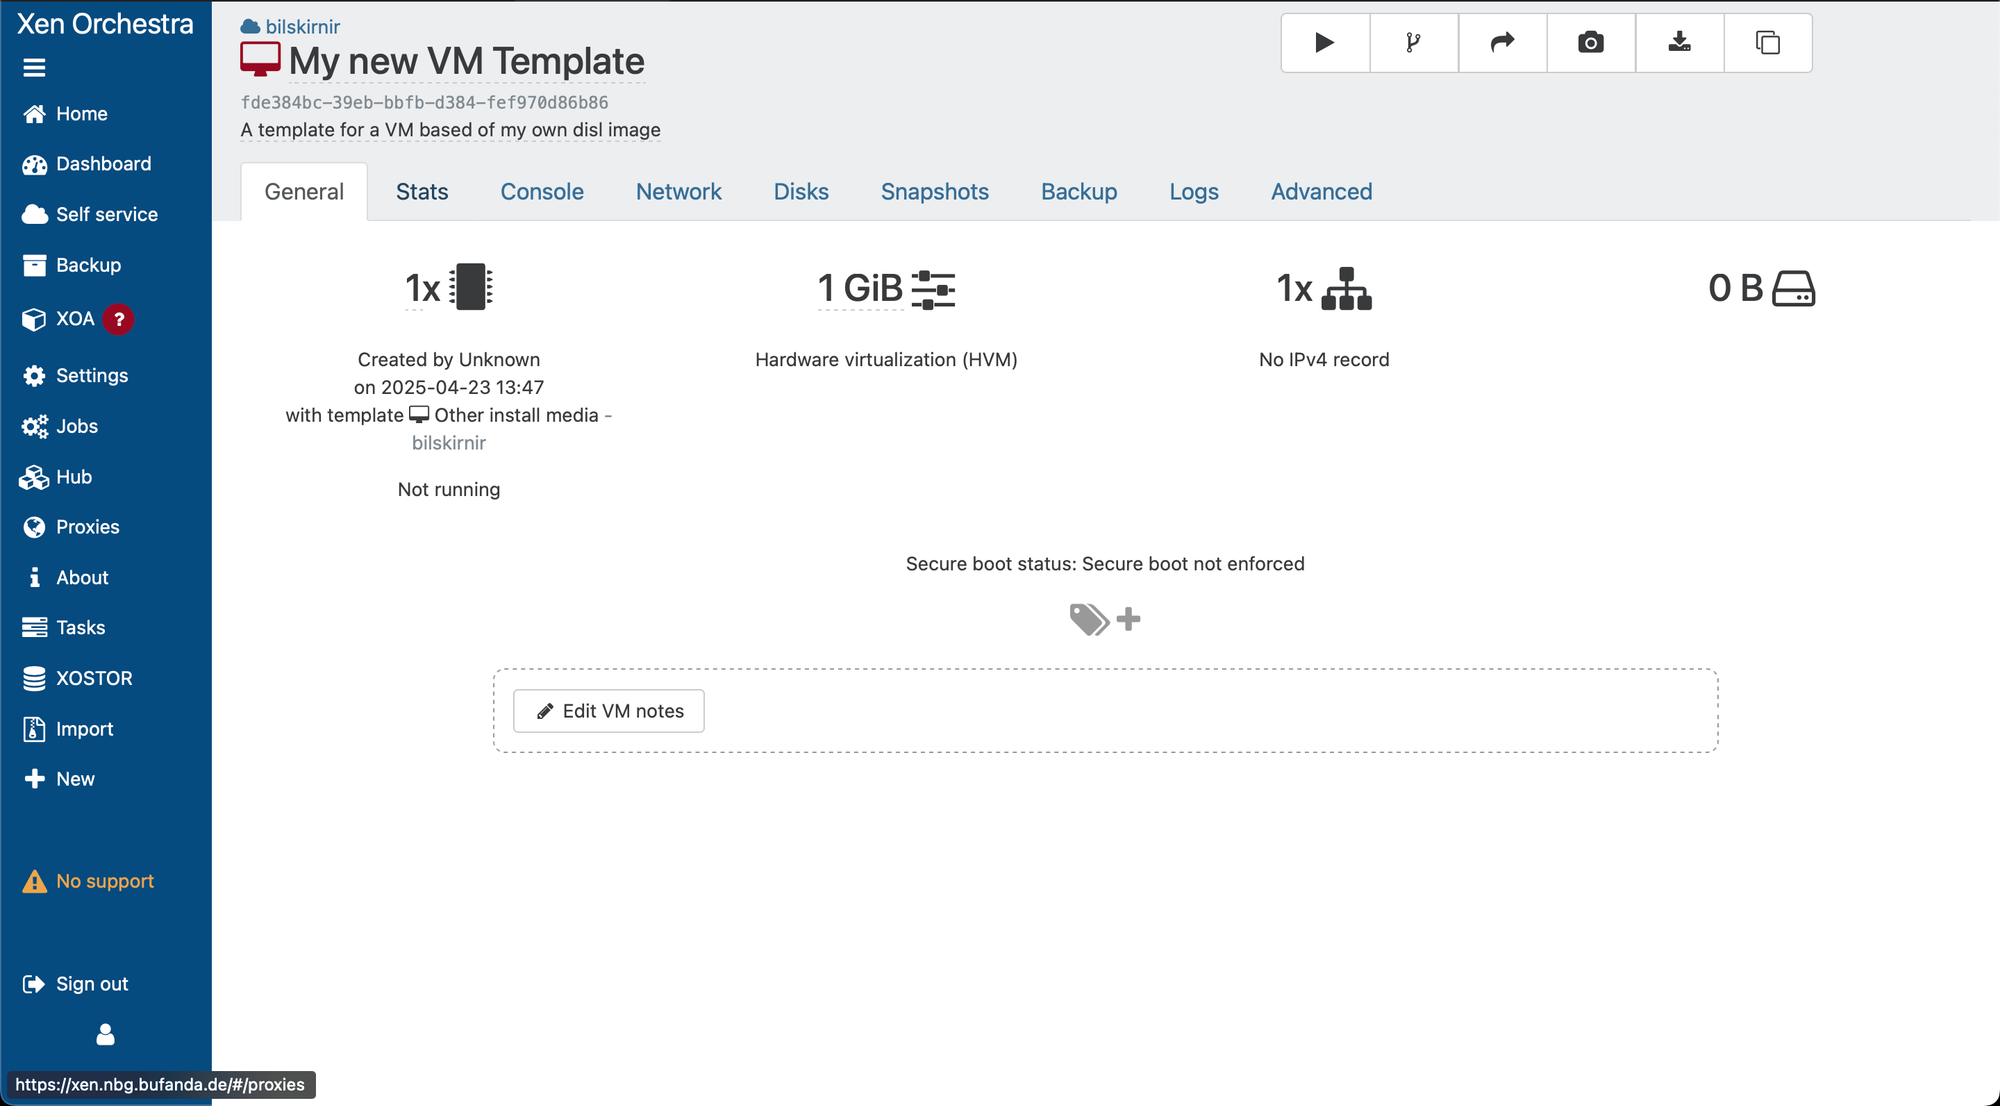
When done, click on create and XenOrchestra will greet us with the follwoing screen.
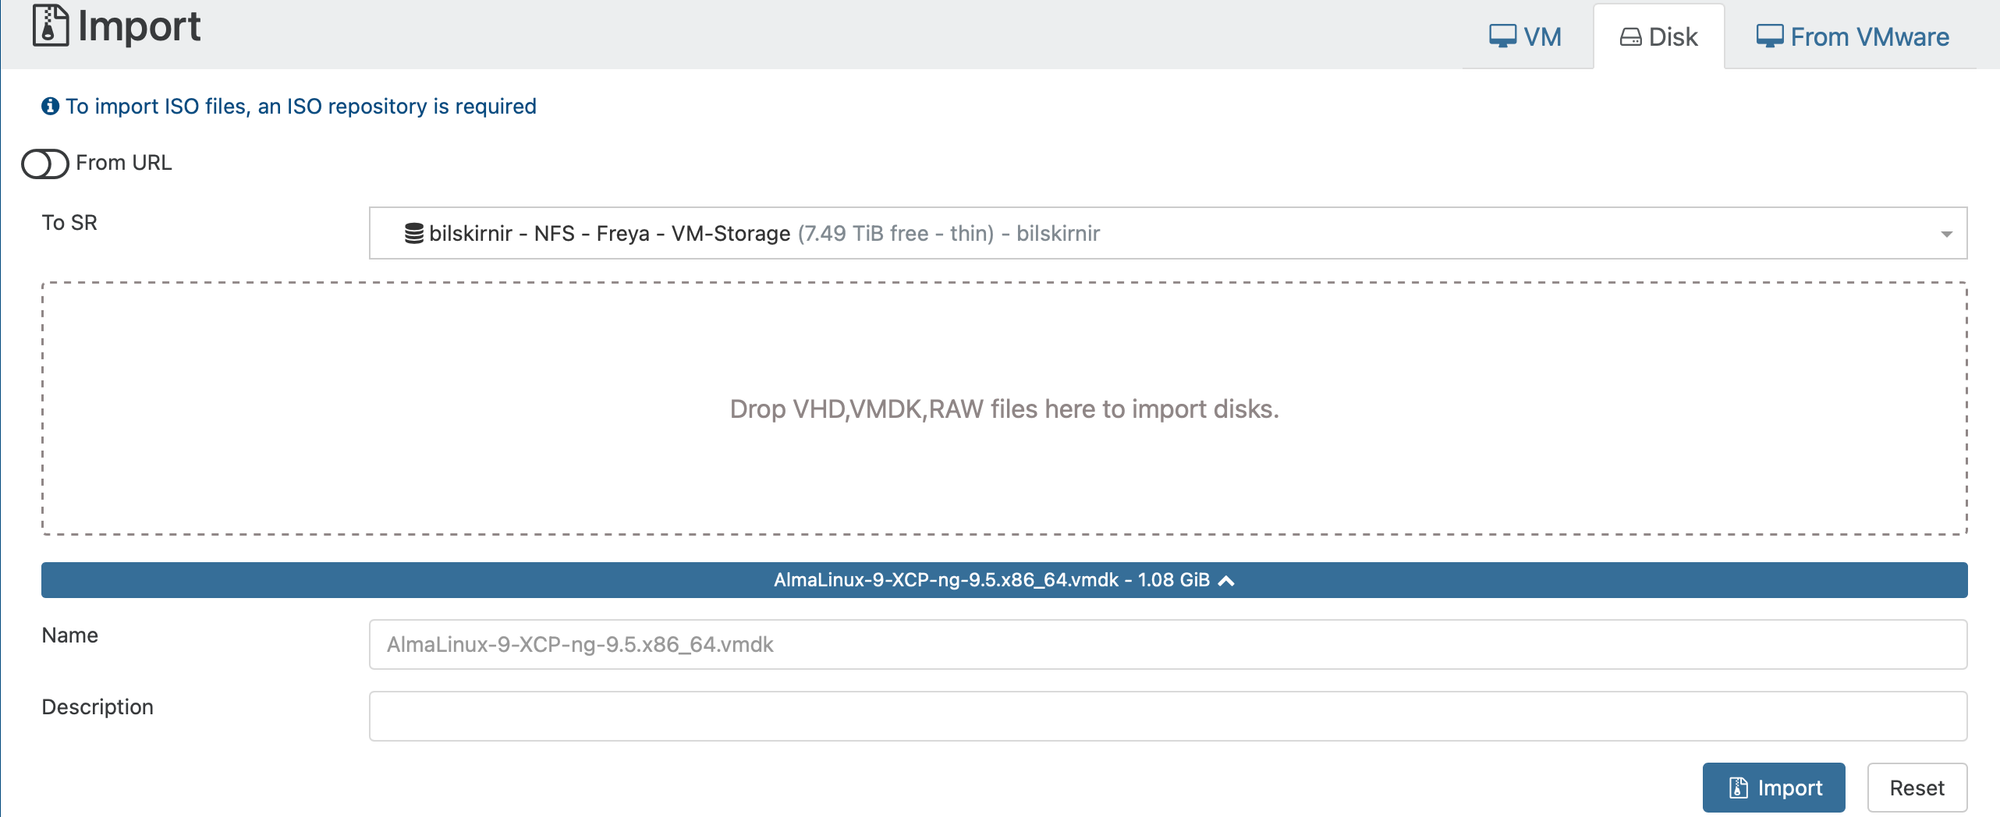
So now to be able to use the disk image we created in this blog-post.

We need to convert the "qcow2" output to a disk format XCP-ng can use. For this we use the "qemu-img" command on the machine we built the image on.
qemu-img convert -f qcow2 -O vmdk /AlmaLinux-9-XCP-ng-9.5.x86_64.qcow2 ~/Downloads/AlmaLinux-9-XCP-ng-9.5.x86_64.vmdkThen when done we go back to XenOrchestra and go to "Import" and then "Disk" on the sidebar menu. Select the SR for VMs on the Pool we created our VM on and drag&drop the vmdk on the outlined field and click import.
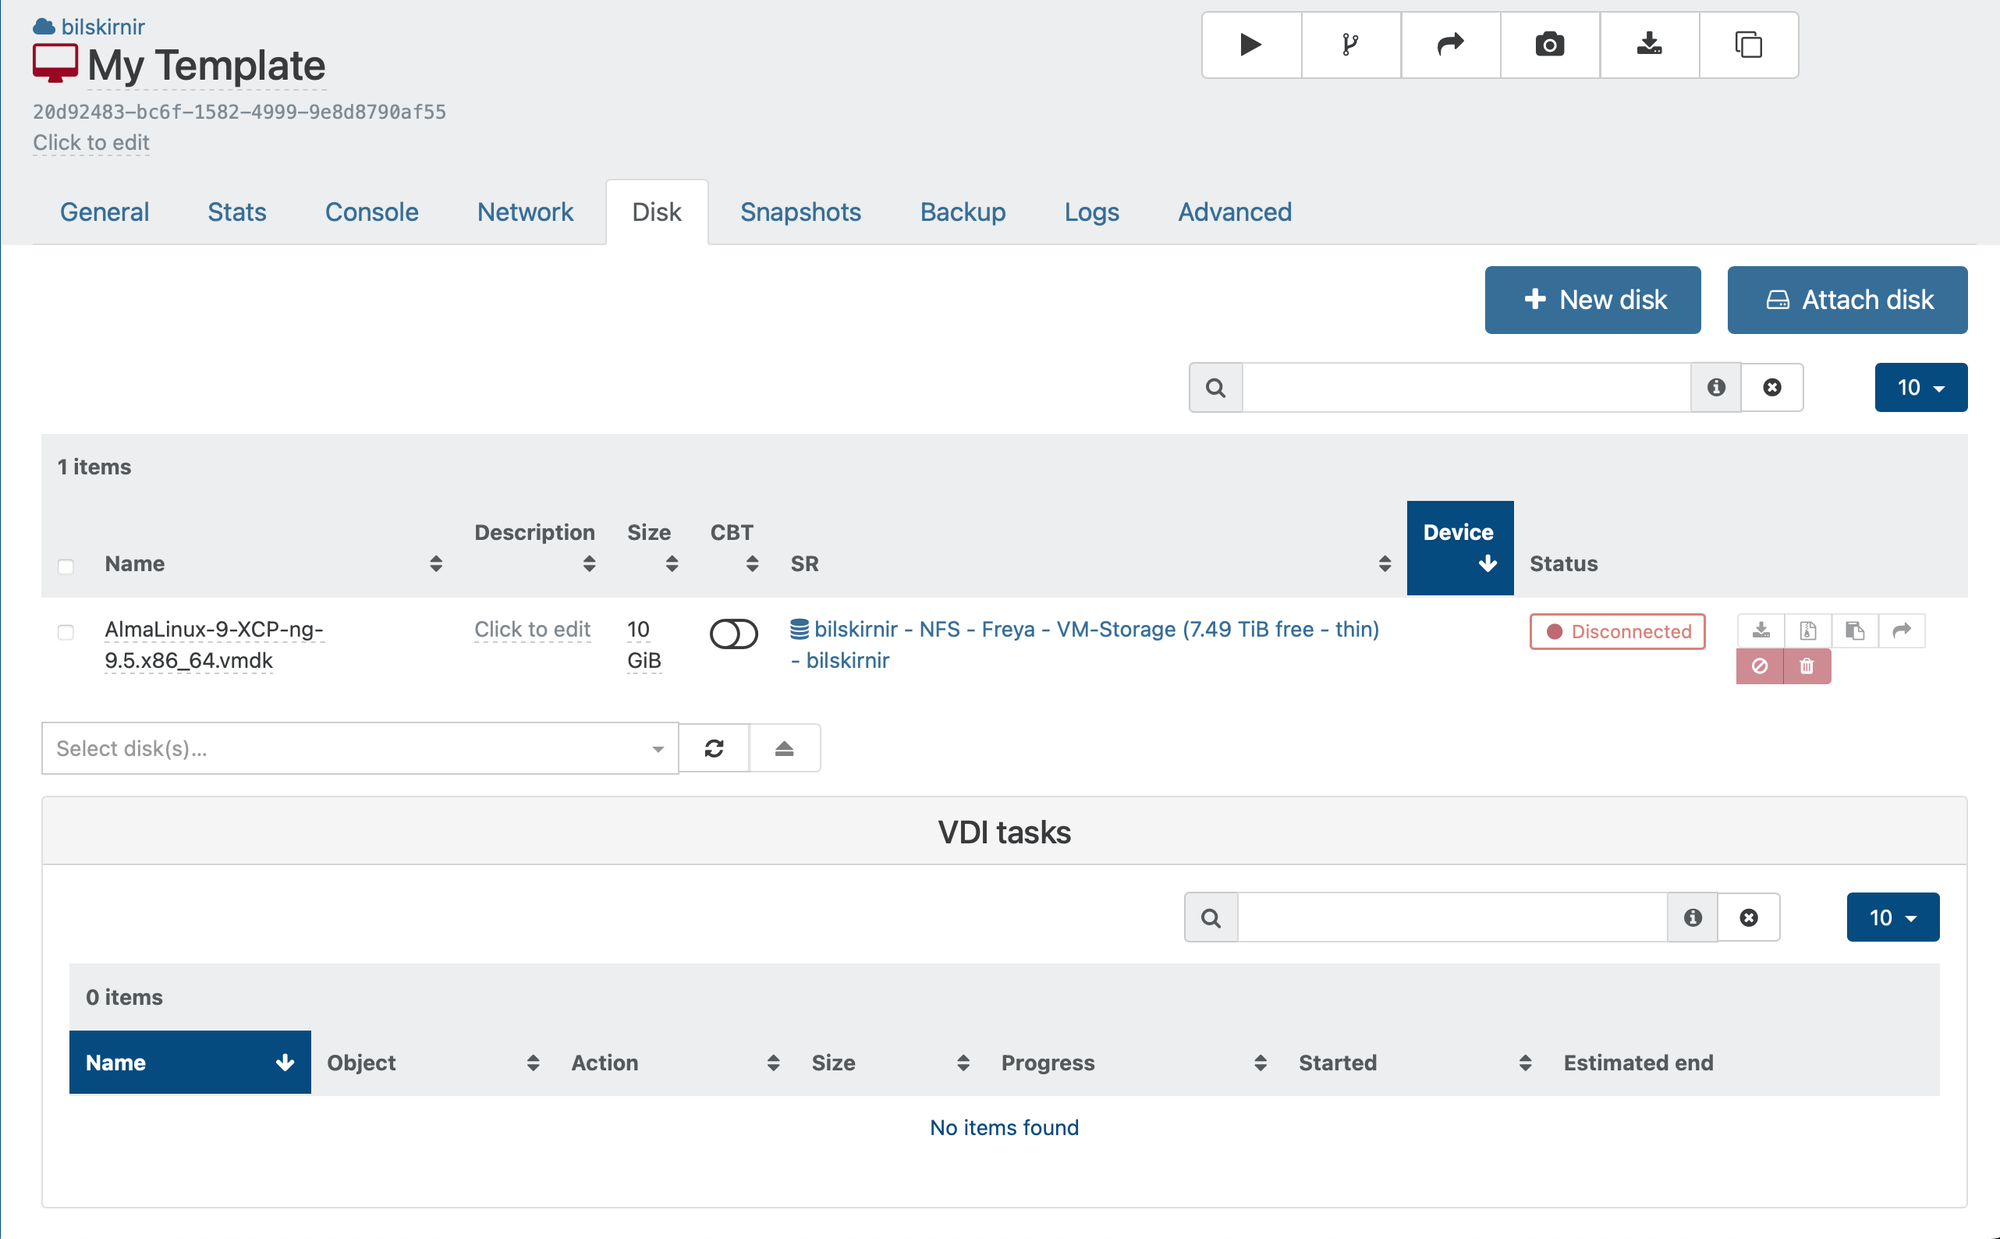
When finished XenOrchestra will switch to the storage repository. Now we got back to our VM and select the "Disk" and here we click on "Attach disk".
Now select the disk we uploaded anc click "attach".
Now we go to the "Advanced" tab.

Here we switch the boot order as shown above and then to create our very own template we just click "Convert to template". Acknowledge with "Ok" and we now have a new template created with our customized cloud image.
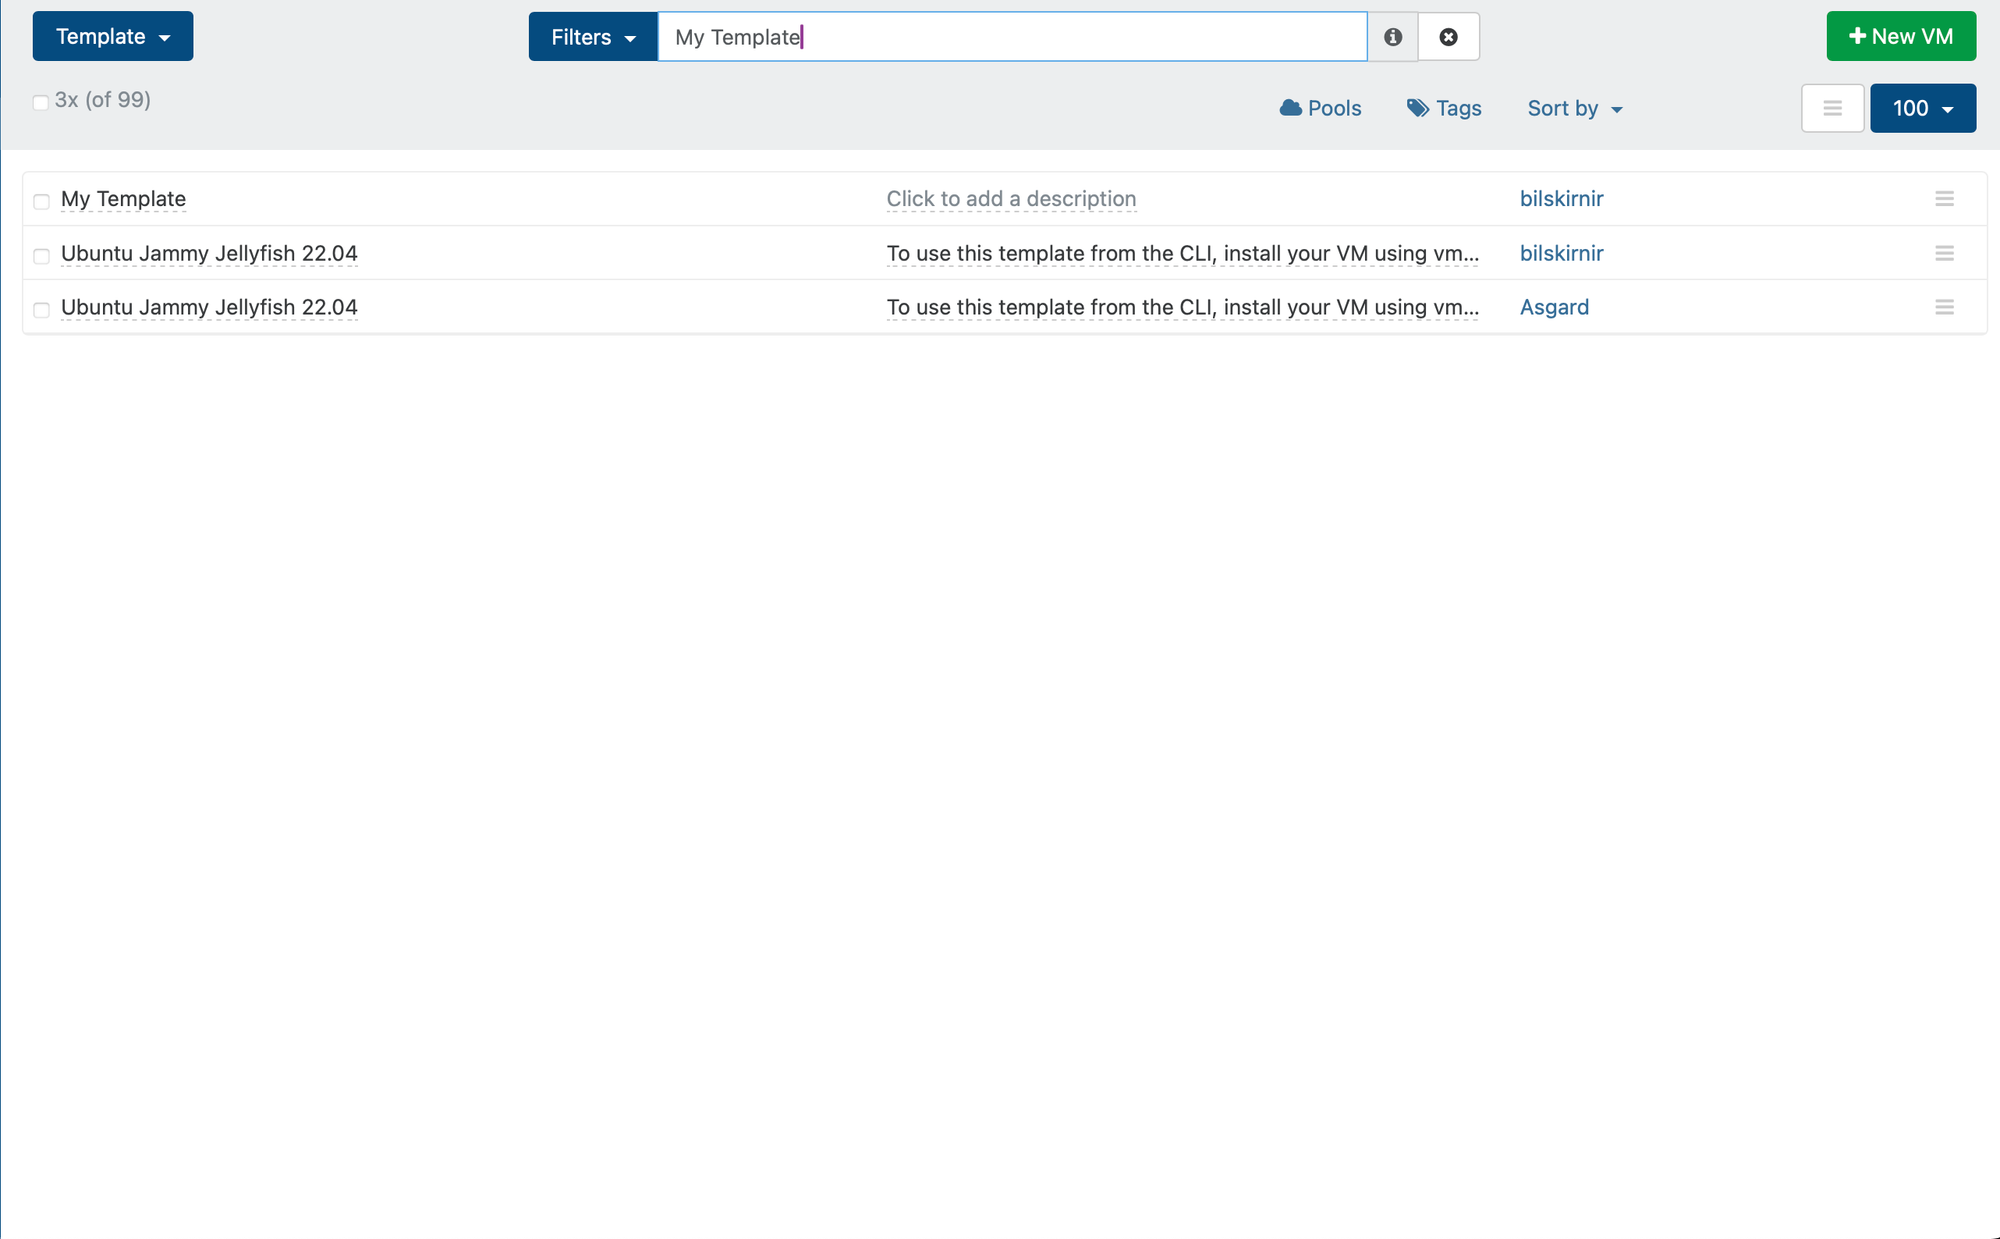
If you now go to "Home" -> "Templates" and enter the template name in "Filters" your template should show up.
Now click the "New VM" button, select your pool and look for your template in the search box and add a cloud-init config and create a new VM from the template. And the VM should boot from your template.
To copy the template to other pools got back to "Home" -> "Templates". Search for your template and check the checkbox in front of it and the "copy" and "delete" button will appear in the top menu.

Click the copy button and select the destination storage repository on any other pool and copy the template to that pool. This operation will only succeed if the destination pool is at the same version as the source pool though.
This little guide should help you to get started with your templates. In an upcoming post I will show you how to replace a disk on an existing template.